Scottish independence gets real fast. This private Braveheart-style tour turns big movie themes into on-the-ground stops and plain spoken stories from guide James. I especially like the views at the Wallace Monument and how the day connects William Wallace and Robert the Bruce to what you see around Stirling.
One thing to plan for: attraction entry fees and your lunch are not included, so your final total will be higher than the headline price.
In This Review
- Key things that make this day work
- A private Braveheart day in Stirling: what you’re really buying
- Duration and timing: why it feels like a full day
- Wallace Monument: the view that explains Stirling Bridge
- What to budget
- Stirling Castle: royal power meets the battlefield view
- Lunch option on your terms
- Battle of Bannockburn Experience: tactics, then the Battle Room
- The interactive payoff
- Stirling Bridge and Cambuskenneth Abbey: short stops with lasting meaning
- Walking the old Stirling Bridge
- Cambuskenneth Abbey: a lesser-known chapter
- Price and value: is it worth $1,363.78 for up to 8?
- Pickup, pacing, and comfort breaks: how the day stays easy
- Who this Braveheart tour is best for
- Should you book this tour?
- FAQ
- What time does the Braveheart tour start?
- Is this a private tour?
- How long is the tour?
- What’s the group size limit?
- Are pickup and drop-off included?
- What’s included in the tour cost?
- Are lunch and attraction entrance fees included?
- Which stops are free?
- What happens if the weather is poor?
- Is there free cancellation?
Key things that make this day work
- A true private format for up to 8 people, so you can set your pace with your guide.
- Wallace Monument first, giving you the key Battle of Stirling Bridge perspective early.
- Stirling Castle time with guided highlights, from the Great Hall to the Queens Palace.
- The Battle of Bannockburn Experience, with an interactive Battle Room and virtual battlefield command.
- Two quick, free walking stops: Stirling Bridge and Cambuskenneth Abbey.
- Extras that matter on a long day: hotel pickup/drop-off, air-conditioning, bottled water, snacks, and a dram of whisky.
A private Braveheart day in Stirling: what you’re really buying
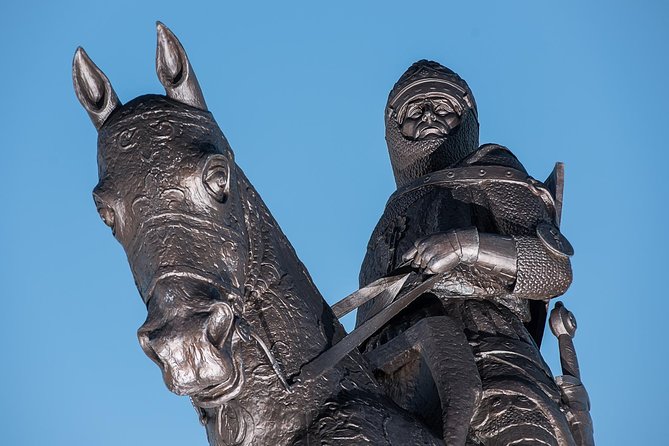
This is the kind of tour where the logistics are handled and the thinking part is done for you. You’re picked up, driven in a comfortable air-conditioned vehicle, and dropped back at your accommodation after a full day built around Scotland’s wars for independence.
The value here isn’t just the sites. It’s the way you move from one chapter to the next: Wallace at Stirling, the royal power base at Stirling Castle, then Bruce’s push at Bannockburn, and finally the smaller places that help you understand the geography of the story. And because it’s private for a group of up to 8, you’re not stuck watching the slowest person lag behind or getting rushed by someone else’s itinerary.
Also, yes, the Braveheart connection is real. But what you’re getting is more grounded: the events surrounding Wallace and Bruce, tied to specific locations you can actually stand in. That makes it easier to keep names straight and understand why these places mattered.
You can also read our reviews of more tours and experiences in Glasgow.
Duration and timing: why it feels like a full day
Expect about 9 to 10 hours total, starting at 8:00 am. That early start is a good thing. In Scotland, weather can change quickly, and your day includes outdoor viewpoints at Stirling. Getting going early helps you make the most of the daylight.
There’s also a practical rhythm: longer stops where you’ll need time to look and absorb, plus two shorter walks where the goal is to touch the history without eating up the day.
Wallace Monument: the view that explains Stirling Bridge
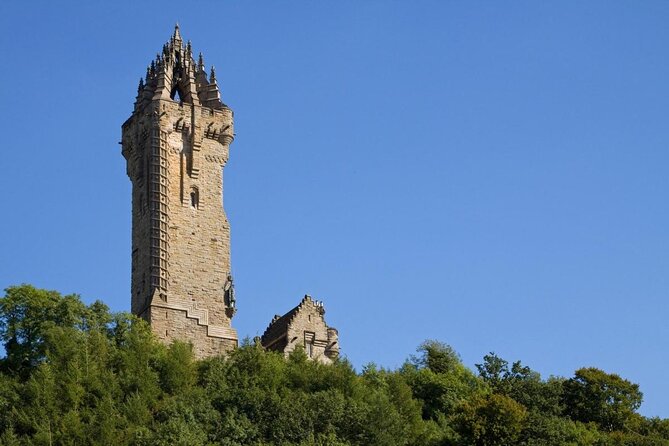
You begin at the National Wallace Monument on Abbey Craig, a landmark that dominates Stirling. This stop is built around the Battle of Stirling Bridge (11 September 1297), and the monument’s position does some heavy lifting for your understanding.
I like starting here because it gives you an instant mental map. From up high, you can see why Stirling mattered: the terrain funnels movement, and that means battles aren’t only about bravery. They’re also about timing, cover, and the shape of the land.
Inside, you follow the story of Sir William Wallace as the guide connects the legend-like reputation to what the battle meant for Scotland’s fight for independence. The monument also comes with stunning views, so even if you only spend time in the main areas, you’ll still come away with a stronger sense of place than you’d get from reading about it.
What to budget
Admission is not included. Plan on buying tickets for the monument if you want the full experience. And since this is a viewpoint stop, wear layers—Stirling can feel colder up high than you expect.
Stirling Castle: royal power meets the battlefield view
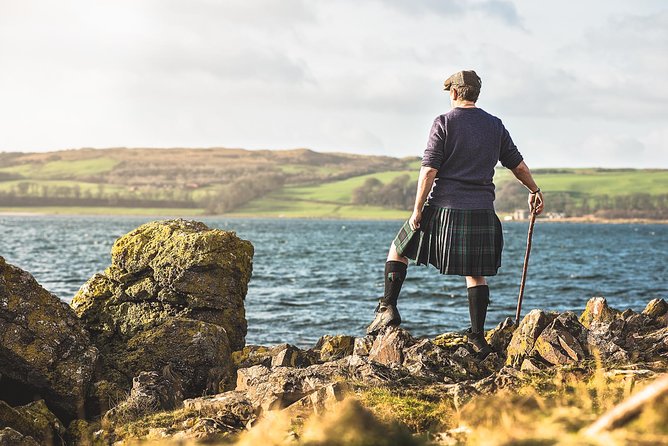
Next comes Stirling Castle, which is a great pairing with the Wallace Monument. The monument shows the battle’s setting from above. The castle shows the political and royal side of Scotland’s story.
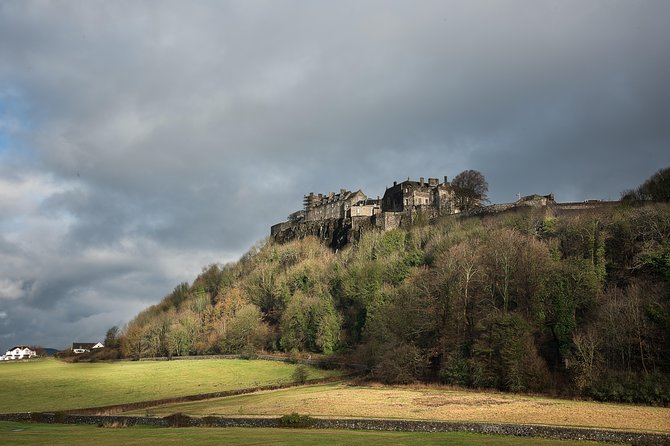
This is also where the tour feels most guided. Your guide can walk you through key rooms and areas, including the Great Hall, Chapel Royal, Regimental Museum, Great Kitchens, Tapestry Studio, and the Queens Palace. Even if you’re not a “castles all day” person, these stop-by-stop highlights help you understand why Stirling was more than just a battlefield.
And the castle viewpoints are useful. You’ll get views over the Forth Valley and battlefields, which makes the earlier Wallace Monument perspective click into place. It’s the same geography lesson, from another angle.
Lunch option on your terms
Lunch is not included, but you’ll have time to eat at the Unicorn Café inside the castle complex. That’s a big deal for a day like this. It means you don’t have to hunt for food once you’re already on-site.
Battle of Bannockburn Experience: tactics, then the Battle Room
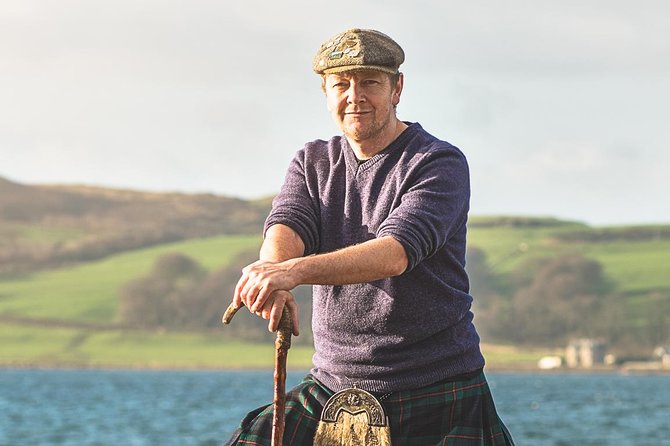
After Stirling Castle, you head to the Bannockburn Visitor Centre for the Battle of Bannockburn Experience. This is where the tour shifts from monuments and royal rooms into the actual mechanics of how the fight unfolded.
The presentation is designed to be hands-on. You’ll stand shoulder-to-shoulder with medieval warriors while learning about the opposing sides—Robert the Bruce raising his standard in 1314 and the English army led by King Edward II. You’ll also see weapons and armour as part of the storytelling, and you’ll get the tactics of each side explained in a way that’s easier to remember than dates and names alone.
The interactive payoff
Each experience culminates in a Battle Room, where you witness Bruce’s victory, then you get the chance to recreate the battle and take command of a virtual battlefield. If you like history that you can test your understanding against, this portion is a smart use of time.
Again, admission here is not included, so factor that into your planning.
Stirling Bridge and Cambuskenneth Abbey: short stops with lasting meaning
You wrap the day with two quick stops that are easy to underestimate—until you’re standing there.
Walking the old Stirling Bridge
At Stirling Bridge, you walk on the old bridge and learn how the battle took place back in 1297. This is only about 15 minutes, and that’s exactly why it works. You’re not asked to “stay in a museum” to get the point. You step onto a real location tied to the story and let the guide explain how the battle happened in context.
The entry is marked as free, so this is one of the easiest wins on the day.
Cambuskenneth Abbey: a lesser-known chapter
Then you visit Cambuskenneth Abbey, another stop with strong story value and a short time commitment (about 20 minutes). This is where Robert the Bruce held his first parliament after the battle of Bannockburn in 1314.
There’s also a local legend that a part of Sir William Wallace is buried within the abbey grounds. Whether you treat that as legend or as a clue to how people remembered Wallace, it adds a human layer to a day that can otherwise feel like facts on a timeline.
This stop is free as well, which helps you get more history for your money.
Price and value: is it worth $1,363.78 for up to 8?
The price is $1,363.78 per group up to 8 people, and the day runs about 9 to 10 hours. That means you’re not paying per person for a private format; you’re buying a whole customized day with one vehicle and one guide.
Whether it feels like a good deal depends on your group size and how you like to travel:
- If you have a smaller group (say 2–4 people), you’ll still be paying less than a private day in many other parts of the UK, especially because the tour includes hotel pickup/drop-off, snacks, bottled water, an air-conditioned vehicle, and a dram of whisky.
- If you can fill closer to the 8-person limit, the per-person cost drops fast, and you’ll likely feel like you got real value for a full history-focused itinerary.
What’s not included—important to know up front—are the entrance fees for the attractions that charge and lunch. Those missing pieces don’t make the tour bad, but they do mean your total day budget should be flexible.
In other words: you’re paying for time, access to a guide, transport comfort, and the pacing that keeps a long day from feeling like a checklist.
Pickup, pacing, and comfort breaks: how the day stays easy
This tour starts at 8:00 am, and pickup and drop-off are included. The specific pickup point can be arranged by you and the operator before the tour. If you’re staying around Glasgow, that’s usually straightforward. If you’re basing yourself farther out (like parts of the Edinburgh area), you’ll want to confirm pickup coverage early since the only hard detail provided is hotel pickup by arrangement.
You also get an air-conditioned vehicle and snacks during the drive/day. That matters because Stirling Castle and the monument are not “sit and watch” places. You’re moving, looking, and listening.
One of the best parts of hiring a private guide is pacing. You can ask for comfort breaks and move at a comfortable speed rather than getting swept along with strangers. It’s also the kind of tour where the guide can adjust the emphasis—more story detail, more explanation of battles, or more time at viewpoints—without breaking the schedule.
Finally, it’s offered in English, and service animals are allowed.
Who this Braveheart tour is best for
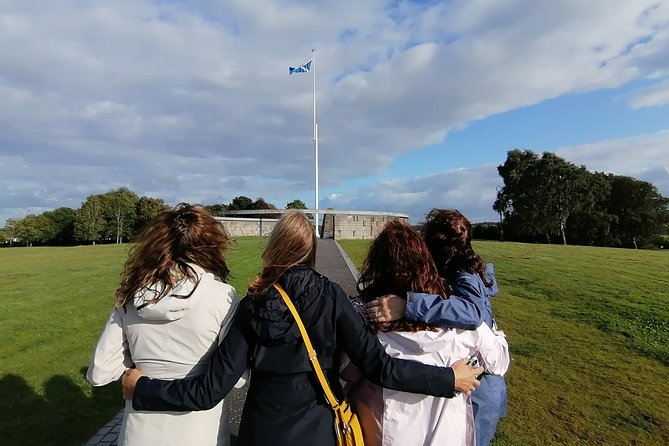
This tour is ideal if you:
- Like the Braveheart theme but want the real-world Wallace and Bruce story tied to locations.
- Want a guide who explains battles in plain language, not just recites dates.
- Prefer a private format where you can stop for a better view or linger a bit longer.
- Are traveling with a small group that can share the group price.
It’s also a good match for first-timers to Stirling who don’t want to stitch together separate visits on their own.
If you’re the type who enjoys DIY wandering with no guide and you’re comfortable paying individual entrance fees one by one, you may be able to replicate parts of the day. But you’ll lose the “connect the dots” factor that keeps Wallace and Bruce from feeling like two separate history chapters.
Should you book this tour?
If your main goal is a high-quality, guide-led Scotland independence day that connects the story to the places you’ll stand in, I think you’ll like this. The mix is practical: major monuments and a major castle, then a visitor centre experience with interactive payoff, then two short free stops that keep the geography and political context in focus.
Book it if:
- You want one full plan for Stirling without coordinating multiple tickets and timing.
- You value a private group day with transport and comfort built in.
Skip or reconsider if:
- You hate long days starting early.
- You’re trying to keep expenses super tight, since entrance fees and lunch are extra.
If you’re aiming for a memorable Braveheart-themed day that doesn’t stop at movie trivia, this one gives you structure and context in a way that’s easy to enjoy.
FAQ
What time does the Braveheart tour start?
The start time is 8:00 am.
Is this a private tour?
Yes. It’s a private tour/activity, and only your group participates.
How long is the tour?
It runs about 9 to 10 hours.
What’s the group size limit?
The price is per group for up to 8 people.
Are pickup and drop-off included?
Yes. Hotel pickup and drop-off are included, and the exact pickup point can be arranged in advance.
What’s included in the tour cost?
Included items are bottled water, an air-conditioned vehicle, the driver/guide, hotel pickup and drop-off, a private tour, a dram of whisky, and snacks.
Are lunch and attraction entrance fees included?
No. Lunch is not included, and entrance fees for the visitor attractions are not included.
Which stops are free?
Stirling Bridge and Cambuskenneth Abbey are listed as free.
What happens if the weather is poor?
The experience requires good weather. If it’s canceled due to poor weather, you’ll be offered a different date or a full refund.
Is there free cancellation?
Yes. You can cancel up to 24 hours in advance for a full refund.